Tuesday, January 1, 2019

Building a Leather Sewing Machine for Shoes With a Drill

My domestic Bernina sewing machine is wonderful but isn't strong enough to sew through anything thicker than light leather. I wanted something to sew leather uppers for shoes but I'm planning to move overseas in June and didn't want to invest in anything too expensive, in case I can't take it with me. Industrial machines are also heavy, noisy and take up a lot of space. It's not easy to find one suitable for leather locally in New Zealand for a reasonable price.

I purchased an old Singer 99k from 1953 very cheaply. It is a small portable model, only weighing about 10kg and designed for domestic use. The lady I purchased mine from kept it as an ornament and never used it. It was so dirty that when I turned the hand crank, it made an awful crunching sound like there was sand stuck inside it. I cleaned it with an ordinary metal cleaner first which did little to shift the layers of baked on dirt and dust. At my Dad's suggestion, I used WD40 three times and it came up really smooth and shiny.


Even though it is small and domestic, the machine is very strong. The outer is made from cast iron and the parts are steel. This model was made with both motors and a hand cranks, I planned to fit it with a new motor and replace the sewing foot with a wheel attachment. Alphasew motors are readily available (around $50) from China, but some complain about the quality. VDK are Taiwanese motors that seem to be superior (approx $70) but are only available for American voltage and would require a converter for use in New Zealand. Both motors are around 0.9 or 1 amps and from my online research I'd need above 0.75 amps for sewing leather (most domestic machines are 0.3 amps).

While visiting my Dad in Sydney he suggested we build our own motor from an ordinary cheap drill, having more than enough power at 2 amps and costing around $20. Apparently electrical engineers like to use drill motors to power all sorts of unlikely things...


The first step was to cut off the handle, we then cut off the switches to make them into a foot pedal switch so the speed can be varied like in a normal sewing machine (something you wouldn't get in an industrial machine). Dad cut the wires to the motor and soldered them to a cable, to create distance between the foot pedal switch and the motor which will be attached to the machine itself. 


We then used plastic builder's shims or spacers, a hinge and the spring from a clamp to make the foot pedal. This was actually the second pedal we made, Dad didn't like the first one. If you look closely at the finished pedal, you can see holes in the plastic we recycled from the first version.


 We soldered the drill switch to the other end of our cable, when we first did this we mixed up one of the inputs and our motor started to smoke... Take care to read the switch diagram carefully on your drill! The plastic encasing the drill switch had to be cut away first so it could be mounted on it's side without restricting the movement as the pedal is pressed.


Dad removed the original drill switch that controls direction and soldered on a new switch and mounted it to the side of the pedal for forward and reverse stitching. (Possibly not the most practical placement but I don't expect to use it very often)

We didn't have time to build a box around the pedal but I may add that on to it later. We made a belt pulley from bolts and washers slotted into the drill chuck. I brought my new motor and pedal back to Auckland and was left to work out how to mount it to my Singer without Dad and all his tools. As it turns out, we picked a large drill to mount to a small machine and small motor belts aren't so easy to find in Auckland.


I ordered a cheap motor belt from Ebay that is specific to the 99k model (part no. 196386). I have read that some of the standard sewing machine motor belts are not long enough for the 99k and a short belt would have made things even more difficult because I would have to attach the drill higher up. The belt seems to be made of a hard rubber with ridges on the inside for grip.

I decided to attach the drill away from the machine, to avoid interrupting any function of the Singer and because the cast iron body is very curved from all sides so attaching anything to it would have been unstable. 

I drilled an aluminium plate onto the back, aligned with the wheel and motor belt and secured it with an L bracket underneath. Drilling holes into the wood of such an old machine felt like blasphemy, I had to keep reminding myself that it's only the wood and not the machine and I'm giving it new life! 


For additional stability, I packed the space underneath the drill with rubber to absorb the vibrations. The drill was held to the aluminium plate with cable ties at the right tension. The tension can be adjusted by moving the drill across the plate, away from the machine (I packed some rubber here too because of the shape of the drill). 

Was it worth the struggle? Probably not but it was fun, educational and economical. I only hope that the belt has enough grip to power through thick leather without slipping. Testing and front wheel attachment to follow.


Wednesday, December 26, 2018

Hand Painting Leather

This post is about hand painting leather, I haven't used it to paint any shoes yet but I think the same techniques would work on leather shoes as well. A couple years ago I painted this beautiful vintage Italian jacket after being inspired by a stunning embroidered Trelise Cooper and UNIF leather jacket.


After several searches online, specific leather paint sets were very expensive especially with postage to New Zealand. I messaged a local Wellington artist who paints and sells vintage leather, to ask what sort of paint she uses. Unfortunately, she ignored all of my messages. Perhaps she thought I was planning on copying her designs... (No hard feelings, it has only motivated me to share my method)

I researched the properties of these leather paints and found they were all acrylic, highly opaque and low viscosity (thin not thick). This makes perfect sense as the acrylic is unlikely to fade or degrade and a thin layer of paint is able to flex with the movement of the leather without cracking and peeling off.

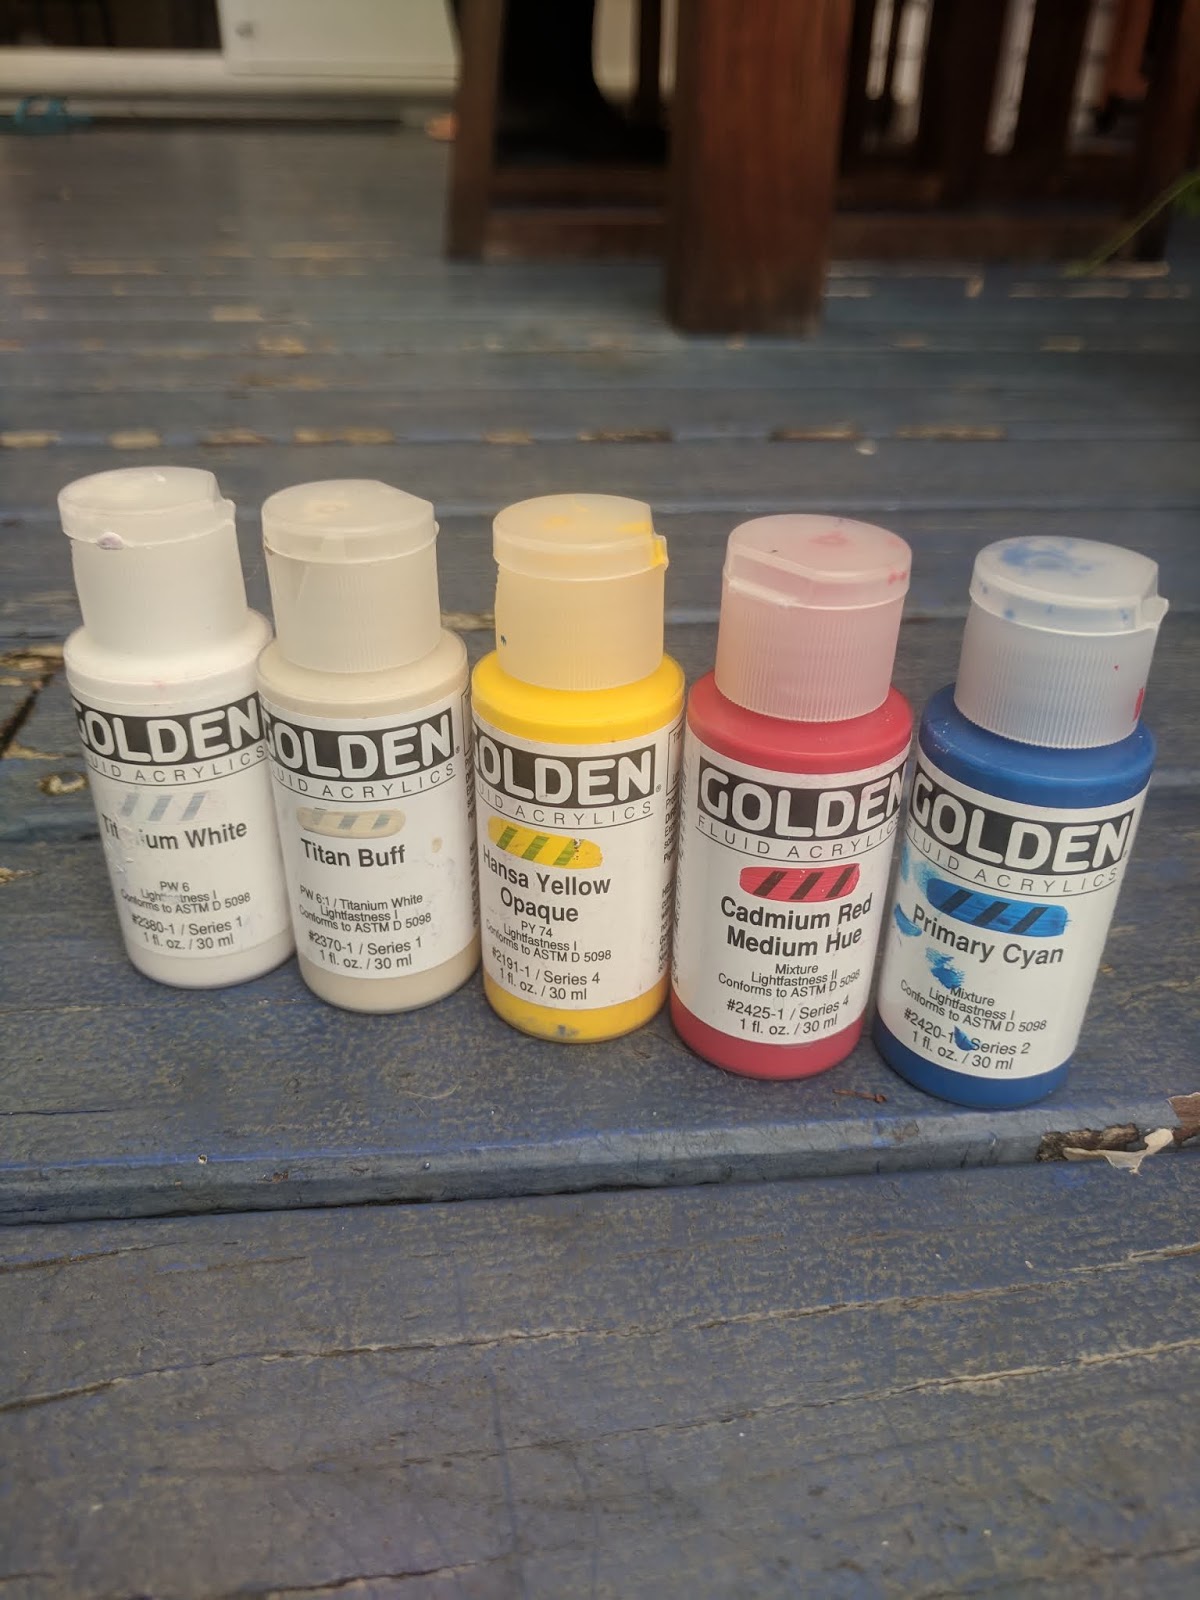
I went to Gordon Harris, my local art shop, and found these Global Artist acrylic paints. They are high quality and state the properties of each shade on the back of the bottle, so I was able to select enough suitably formulated shades.


I prepared the leather by rubbing it down with isopropyl alcohol to remove any dirt or oils on the surface, which could prevent the paint from adhering to the surface. I then sketched out my designs onto the jacket with a silver gel pen so I could see it against the black leather and started painting. I tried to keep the layers of paint smooth and thin. When I was finished, I rubbed it down with beeswax to seal in the paint and moisturise the leather after the drying alcohol.


After almost two years of heavy wear with exposure to Wellington's wind and rain, none of the paint has cracked or degraded. Despite the leather being very soft and easily creased. These Global paints have exceeded my expectations and I intend to hand paint some of the leather on shoes I will make as well.


This awesome leather jacket was purchased second hand from Hunters and Collectors on Cuba St in Wellington. It is so satisfying when something old can be given new life. It has a delightfully creepy cupid in the decrepit lining but it makes me smile and I can't bring myself to replace it yet.

The redback spider is a small tribute to growing up in Sydney and the eyeball roses looking in different directions appeals to my weird sense of humour.


Please link/tag me if you give this a try! I would love to see.


Monday, December 24, 2018

Leather Shopping in Sydney and Melbourne

At the end of November I went on holiday to Australia. I took the chance to shop for brightly coloured leather and tools as I hadn't had much success in NZ so far. Lou from shoe school advised me that the ideal leather thickness for shoes is 1.8 to 2.4mm.

Lapco claims to be the largest leather retailer in NZ and after visiting their showroom at Eden Terrace in Auckland, I found that most of their hides were too light for making shoes and I couldn't find the colours I was looking for. The Fabric Store (one of my favourite shops for beautiful fabrics) has a wonderful selection of coloured leather but most of it is light weight and expensive. I have yet to go to NZ Leather Supply in Avondale, who apparently sell a selection of leather for footwear.

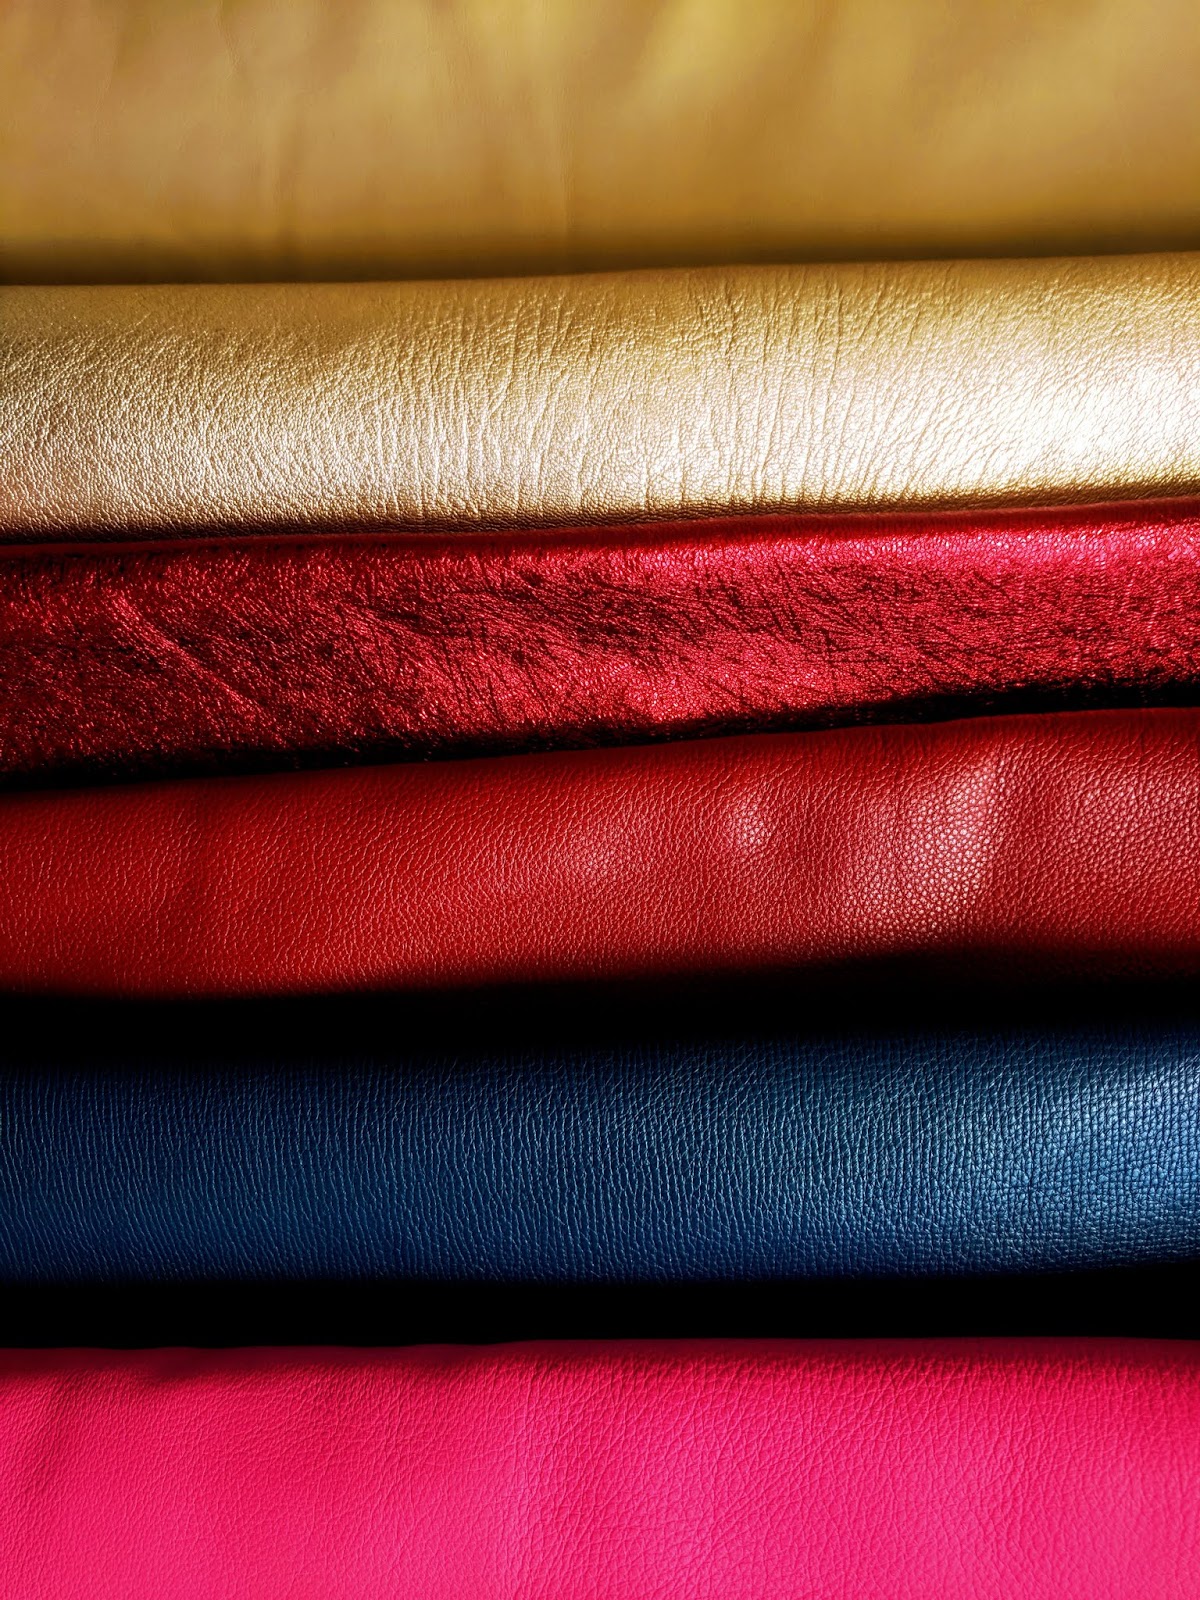
After arriving in Melbourne, I went to Lefflers Leather in Kensington Rd. They have the biggest selection of leather I have seen yet. I spent more than three hours choosing what to buy because the choice was overwhelming. If you can't visit Melbourne, they have recently upgraded their website: https://www.leffler.com.au/ . I left with a box of leather, to the amusement of an old man on the bus. Here are the the colours I chose, the neon pink is my favourite:


While exploring Melbourne CBD, I found the recently opened Irregular Choice shop. Of course I didn't buy anything but it is always fun and inspiring to look at their wild and fun shoe designs.


In Sydney I went to Birdsalls Leather in Botany. They didn't have as much leather as Leffler's but their selection of kangaroo hides, hardware and tools was impressive. I bought some NZ suede in colours I couldn't find locally in NZ. A lady who worked there told me they came from Tasman Tannery in Whanganui but they only sell to suppliers who buy in bulk and are not open to the public. The price was also cheaper than what I had seen for sale in NZ. As you can imagine, I had a hard time trying to explain why I was bringing NZ leather back into NZ from Australia to the customs officer on my return...

While in Birdsalls, I was surprised to see a small rainbow of cane toad leather. The pieces were about the size of the palm of my hand. It isn't something I'd consider for making shoes but I thought it was interesting in a slightly gross way. 


My favourite hardware purchase were these great gemstone rivets. I haven't seen anything like them before and I think they would look great on my handmade jeans as well as shoes.


I can't wait to finish building my leather sewing machine so I can get started on turning all this beautiful leather into shoes! Post on how I built my sewing machine motor from a drill and an old Singer to follow.


Friday, December 21, 2018

The Quest for a Last

A last is essential for most shoemaking. It is the shape of the foot that the leather is stretched around (lasting) to form the shoe. The last determines the toe shape and heel height of the final shoe. Since not many people make shoes anymore, it can be difficult to source lasts for your own shoemaking that are well matched to your feet. I now own five pairs of lasts from three different places.

The lasts I used at Shoe School were originally from NZ shoe designer Minnie Cooper, who sadly went out of business in March '18. Understandably, Shoe School did not want to sell me their pair. A friend suggested to email Minnie Cooper and ask if she had any left (in true NZ style!). She very kindly sold me this pair for $25. Unfortunately, it was not the same last style I used (the style number differed by one number).

They are still very nice but the metal plates (used to protect the soles during machine lasting) will need to be removed before I can hand last them. It's not an easy task as the plates are glued down and nailed in with ribbed nails. Consider this when buying old lasts! As you can see, I removed one plate and temporarily ran out of motivation to remove the other after accidentally slicing my finger!


The second pair of lasts were new and purchased directly from Shoe School for $120. She only sells one women's style at the moment. You can find them on her website here: http://www.shoe-school.com/shop/shoeschool1 They will also need to be widened and shortened slightly for my feet, despite already being a wide style.


The remaining three pairs of lasts were purchased from Bruce Miller, one of the few last makers left with an extensive collection of vintage lasts. After several email exchanges and posting him a paper tracing of my feet, he selected three pairs of vintage lasts. He explained that shoe sizes used to be made in 12 different widths, from 'AAA' (very narrow) to 'EE' (very wide). The bright blue pair are a very close match for my feet and are a 'EE' width. Modern shoe factories in China and Vietnam do not want the expense so only make their shoes in one width, usually somewhere in the middle of the range to fit the most people possible.

I purchased these lasts for $30 each while visiting Mr Miller during my recent holiday in Melbourne, Australia. I was lucky enough to hear about his 60 years of experience in the shoe industry and see some of his old grading notes. He even showed me gigantic lasts he made for The Lord of the Rings films. Tragically, he now has so many unused lasts with the death of the Australian shoe industry that he sometimes gives them away to the poor for firewood! If you would like to purchase second hand lasts from Mr Miller, his email address is bamiller@netspace.net.au


Finally purchasing lasts online or from antique shops can be difficult because most people use them as ornaments and only have one and/or don't include all of the measurements you need. I have yet to purchase any lasts online but I have seen them on websites like Ebay and Etsy. I recommend using the word 'pair' on your search to narrow down the relevant results as well as looking for letters that would suit the width of your foot. This also filters out most of the listings for old shoe repair anvils that are frequently mislabeled as lasts.

Modifying shoe lasts either by shaving them down or building them up with EVA foam or vege tan leather is a skill in itself, so finding a lasts that closely resemble the shape of your feet will make it easier to start shoemaking. My next pair of shoes will be made using the bright blue lasts from Bruce Miller which don't require modifying. I will post photos of last modifications as they happen.

Wednesday, December 19, 2018

My First Pair of Shoes

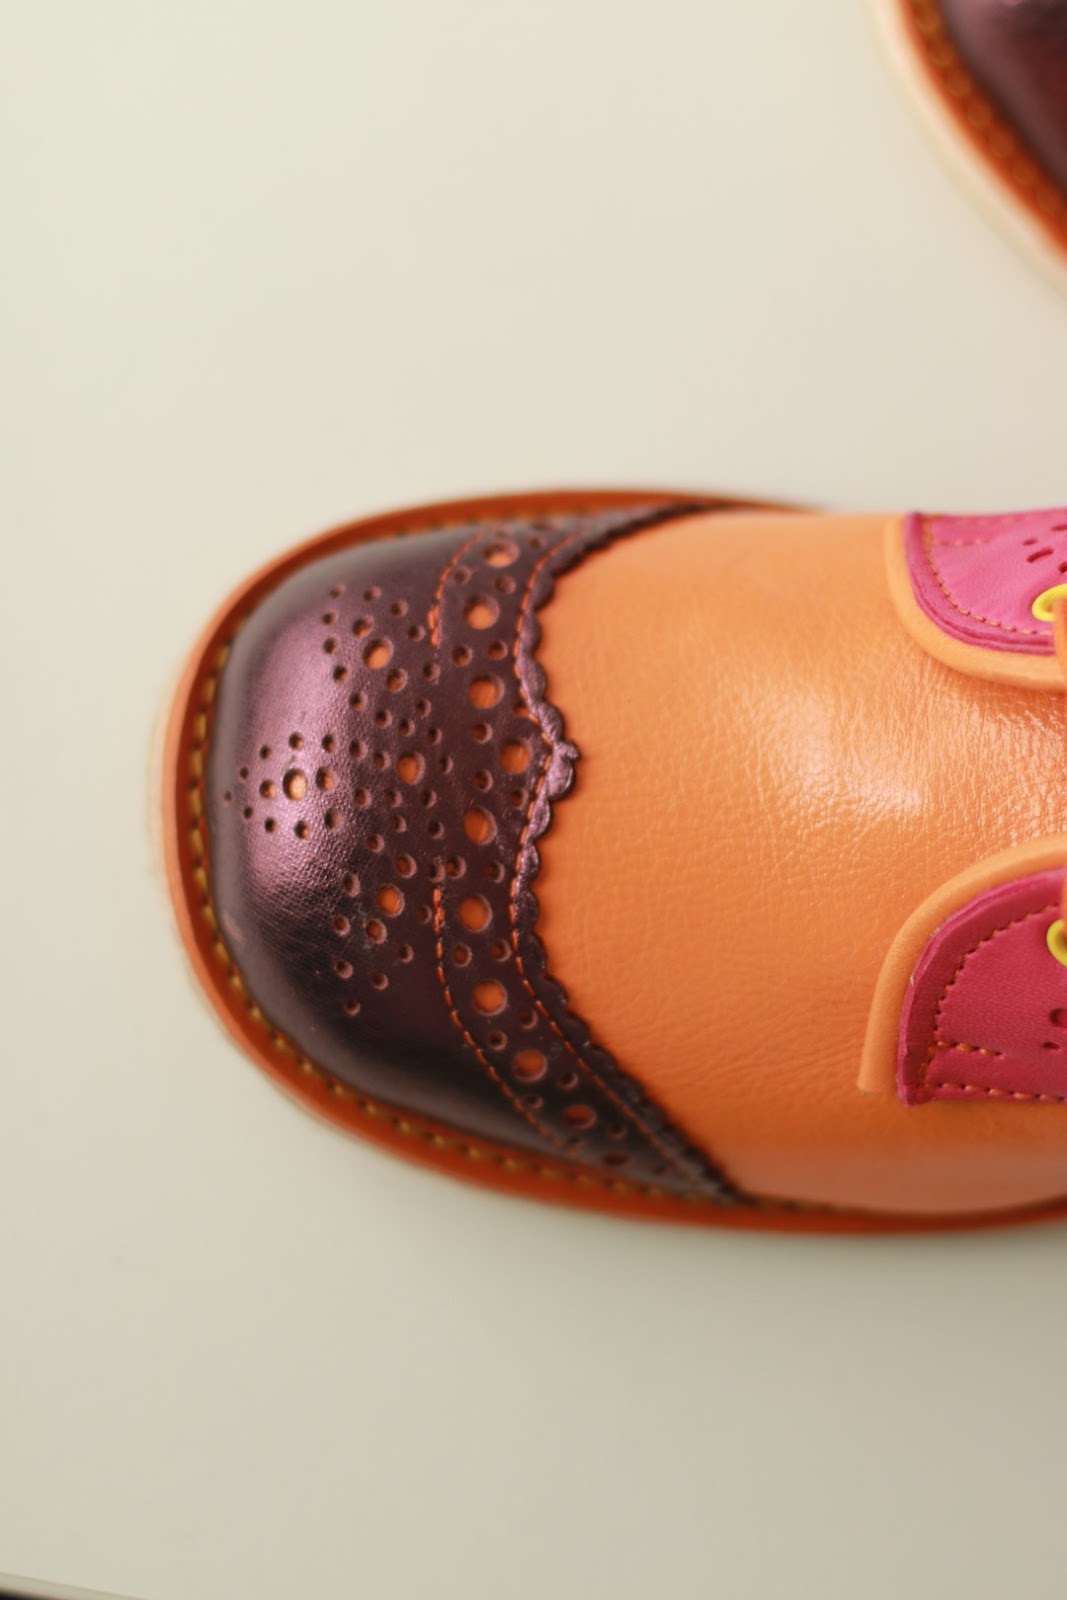
My First Shoes:

While living in Wellington, I accidentally found the Shoe School on Instagram.  I enrolled and attended the 5-day course and made a pair of colourful derby boots. It was a fantastic introduction to shoe making without the investment and I recommend it if you are unsure about wanting to learn to make your own shoes at home. Making a single pair of shoes in a week will not make you any kind of expert but at least you will know if you like it. Be warned, I was instantly hooked.

This blog is dedicated to documenting my shoe making journey. Making your own shoes requires considerable time, money and energy. Unlike sewing, information on the subject is hard to find because there aren't very many people making their own shoes anymore. The cordwainer apprenticeship no longer exists, most of the industry has been moved to developing countries and simplified to reduce costs wherever possible. From the few posts I've made on Instagram, I've received more questions and interest than I anticipated.

Even as I type, my computer wants to correct the word 'cordwainer', meaning shoemaker (as opposed to cobbler; someone who repairs shoes) to 'container'...

Please enjoy my bright derby boots. I never want to wear another pair of organ-coloured boring shoes again.


Why Make Shoes?

I love shoes, I'm sure many of us can relate. A beautiful pair of shoes instantly elevates an outfit. I am guilty of choosing my shoes before the rest of my clothes for the day. Shoes are forgiving, they usually still fit you even if you have lost or gained weight.

Unfortunately my love of beautiful shoes is increasingly at odds with my dislike for fast fashion, mindless consumerism, exploitation of the poor and compromised quality. Even brands I used to enjoy seem to be reducing the quality of their products every year.

Additionally, while my feet are average sized for a woman (about a US 8 or 39) they are wide and most shoes are uncomfortably narrow. Only some of my shoes relax enough after months of painful wear, leather or not. As a student I bought most of my clothes second hand. I quickly learned that trying to wear second hand shoes is not ideal, as the shoes have been worn and formed to a differently shaped foot. 

Over the past year or so, I have sold most of my clothes and sewn myself a new wardrobe while teaching myself to sew. It has been one of the best things I have done. Everything I now have fits me perfectly and is made in a style/fabric/colour I enjoy, regardless or whether or not it is in fashion! I own much less overall and feel content knowing that the things I've made will last for more than just a season. When I realised making my own shoes is achievable, I began to imagine creating my own well-fitting shoes to complete my handmade clothes.

Shoemaking Project: Cut-out Derby Shoes for Travel

I designed these latest cut-out derby shoes with travel in mind. I will be on holiday in Vietnam and Thailand next month and usually do a lo...